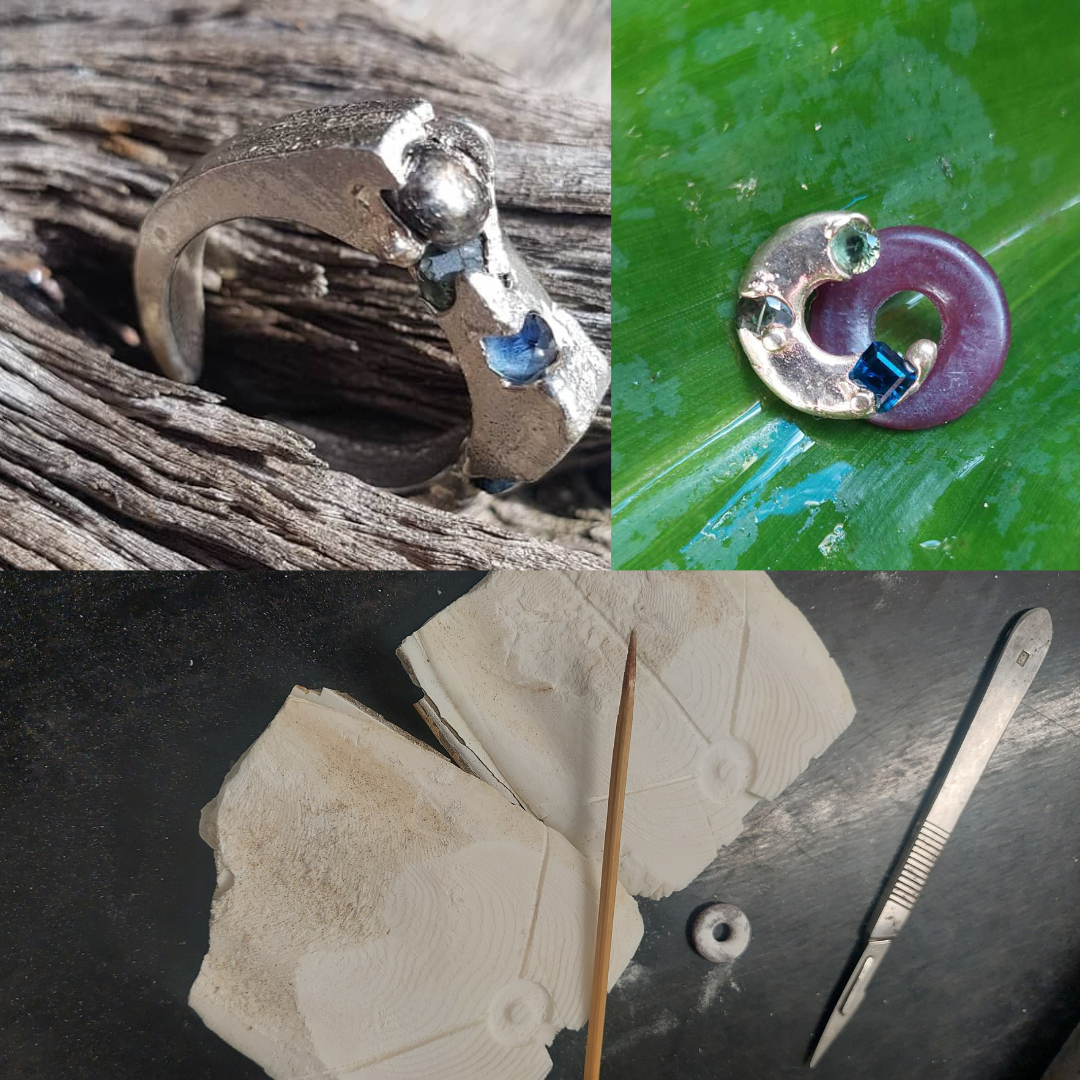
Cuttle fish casting
Cuttlefish casting is valued for its unique texture and organic feel, imparted by the natural structure of the cuttlefish bone.
- Cuttlefish Bone Preparation: The process begins with a cuttlefish bone, which is cut in half lengthwise, using a saw file, to expose its flat, interior surfaces.
- Smoothing the Surface: The two halves are rubbed together to create a smooth surface and ensure a tight fit when joined.
- Creating the Mold Cavity: A model or template of the desired piece, often made from wax or another material, is pressed into one or both halves of the cuttlefish bone to leave an impression. This impression forms the mold cavity for the metal casting.
- Carving Sprues and Vents: Channels (sprues) are carved into the mold to allow molten metal to be poured in, and vents are carved to allow gases to escape during casting.
- Assembling the Mold: The two halves of the cuttlefish bone are carefully aligned and bound together with wire or clamps to ensure they stay in place during the casting process.
- Melting and Pouring Metal: The chosen metal (such as silver, gold, or bronze) is melted in a crucible and poured into the mold through the sprue.
- Cooling and Extracting the Casting: After the metal has cooled and solidified, the cuttlefish bone mold is broken apart to reveal the cast piece and usually pickled.
- Finishing: The rough casting is then cleaned, any sprues and vents are cut off, and the piece is filed and polished to achieve the desired finish.
This method is appreciated for the unique texture that the cuttlefish bone imparts to the metal and for its simplicity, making it a favourite among jewellery artisans.
Picture: Some Cuttlefish cast pieces and cuttlefish before the pour
